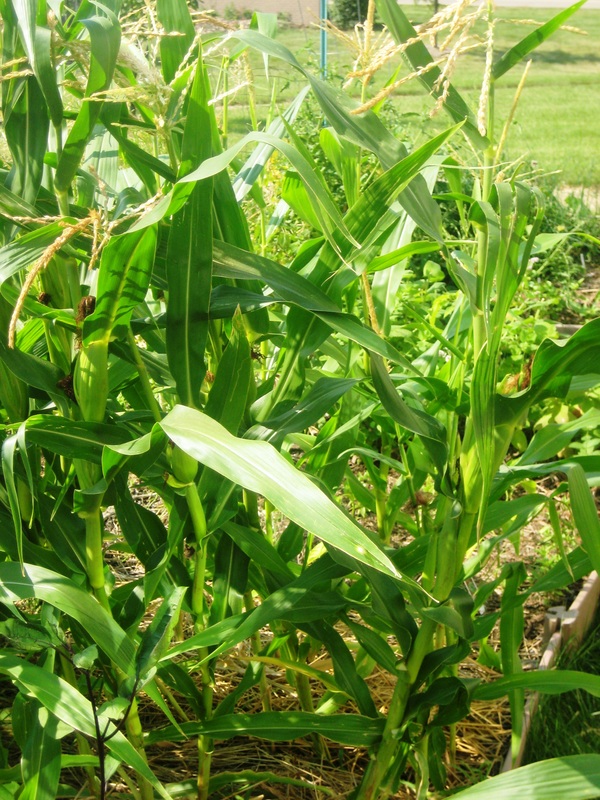
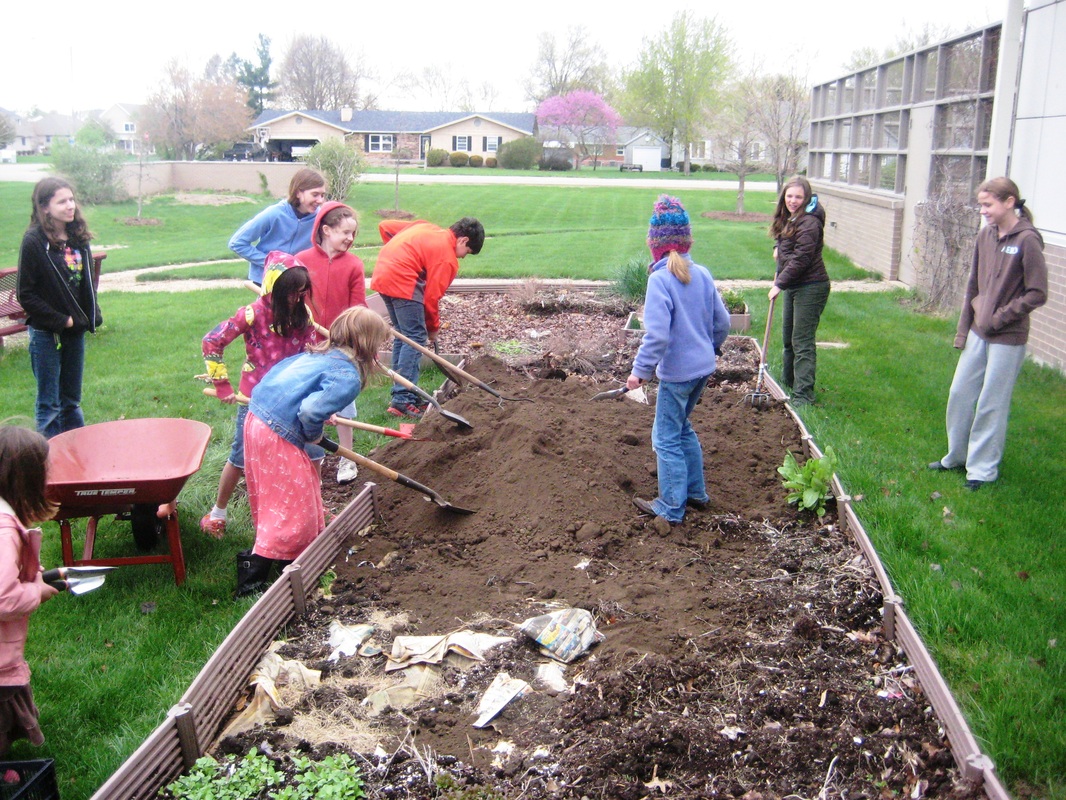
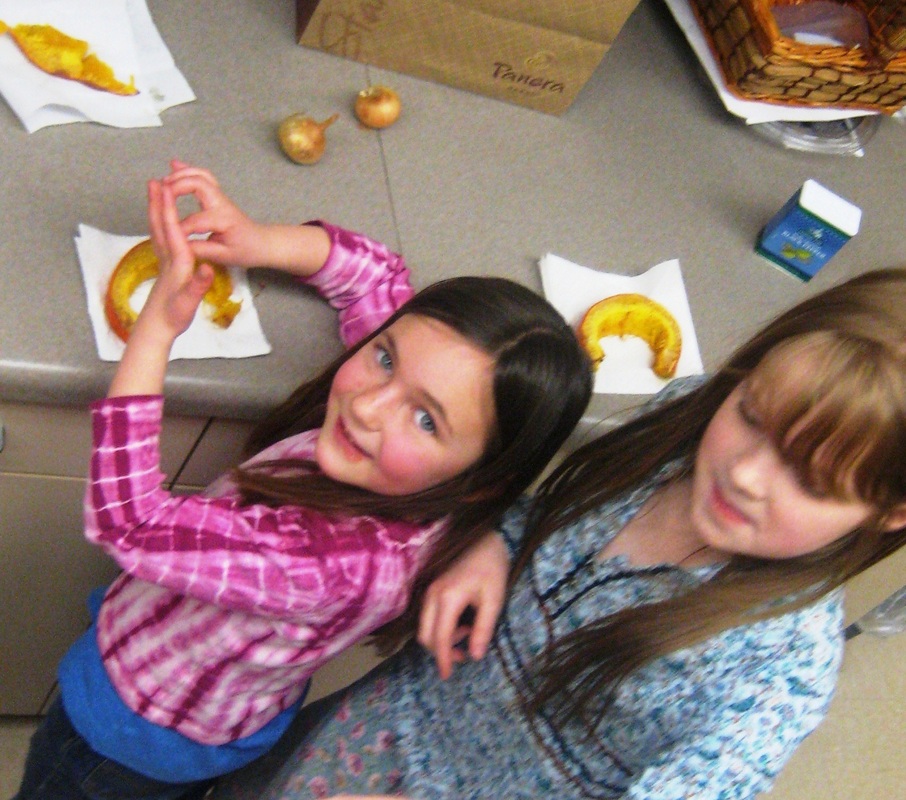
We took advantage of growing our own dent corn to harvest a few ears early for green corn tamales. Now, although our variety is Oaxacan Green Dent, "green corn" refers here to corn that is usually harvested when hard and dry, picked while still somewhat immature. In our case, we probably let it go a little too long, as it was pretty dry when we went to grind it into masa. Nevertheless, our experimental tamales turned out quite tasty, especially when paired with the wonderful fresh salsa that the Chillis whipped up with fresh tomatoes, peppers, and chives. You can see the tamale recipe on which we more-or-less based our own endeavor here.
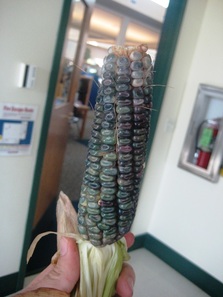
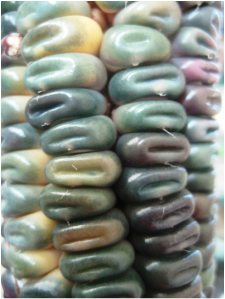
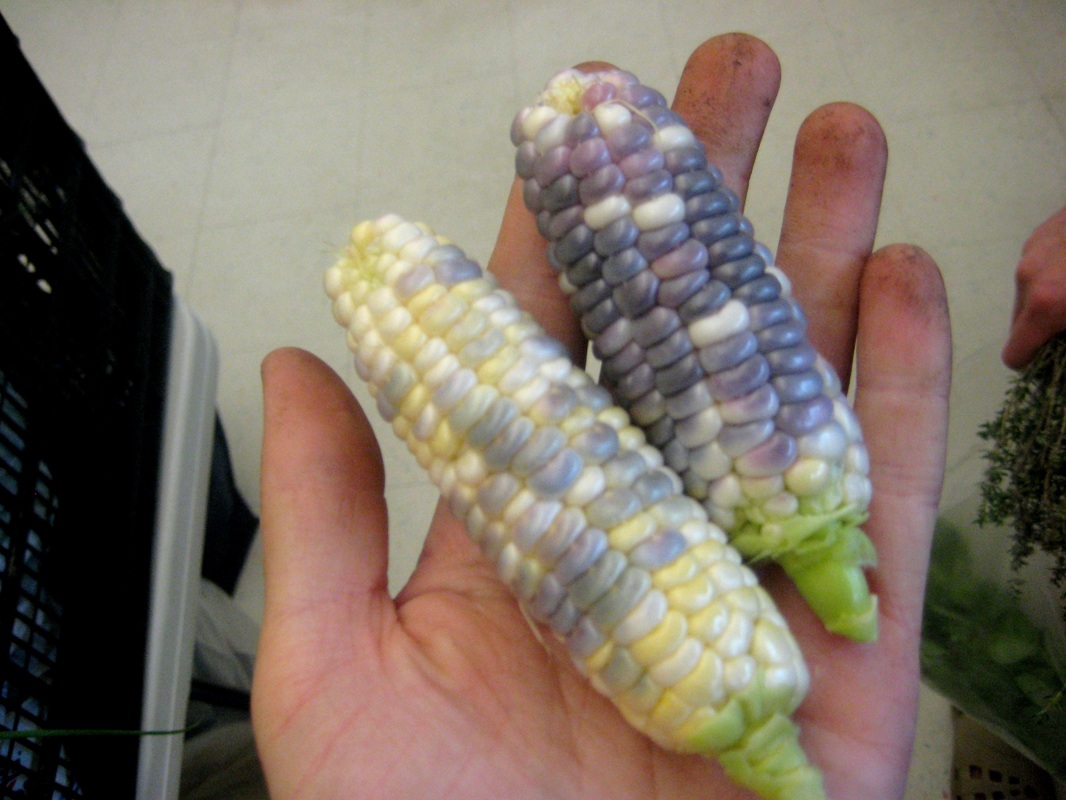
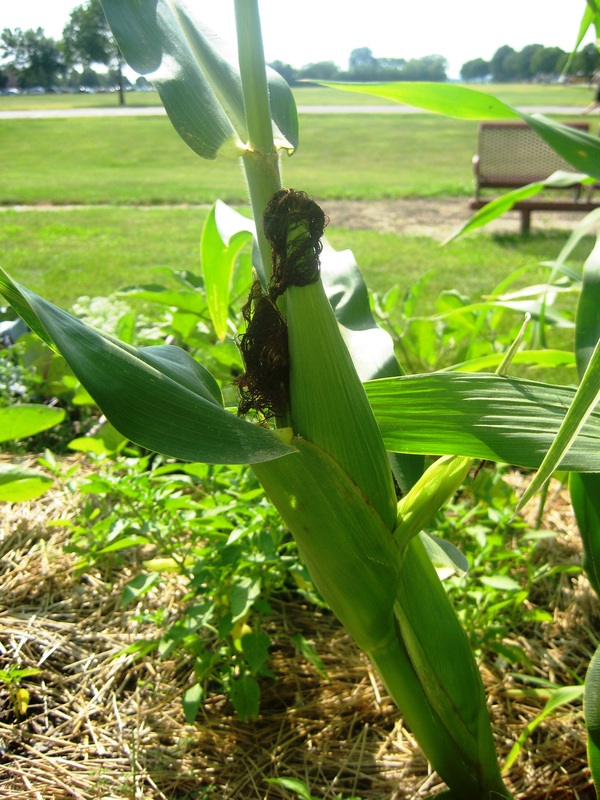
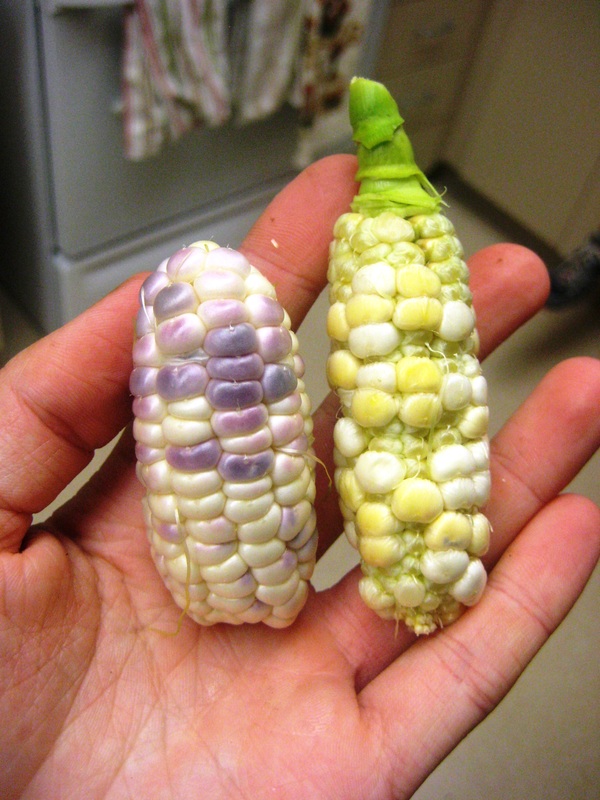
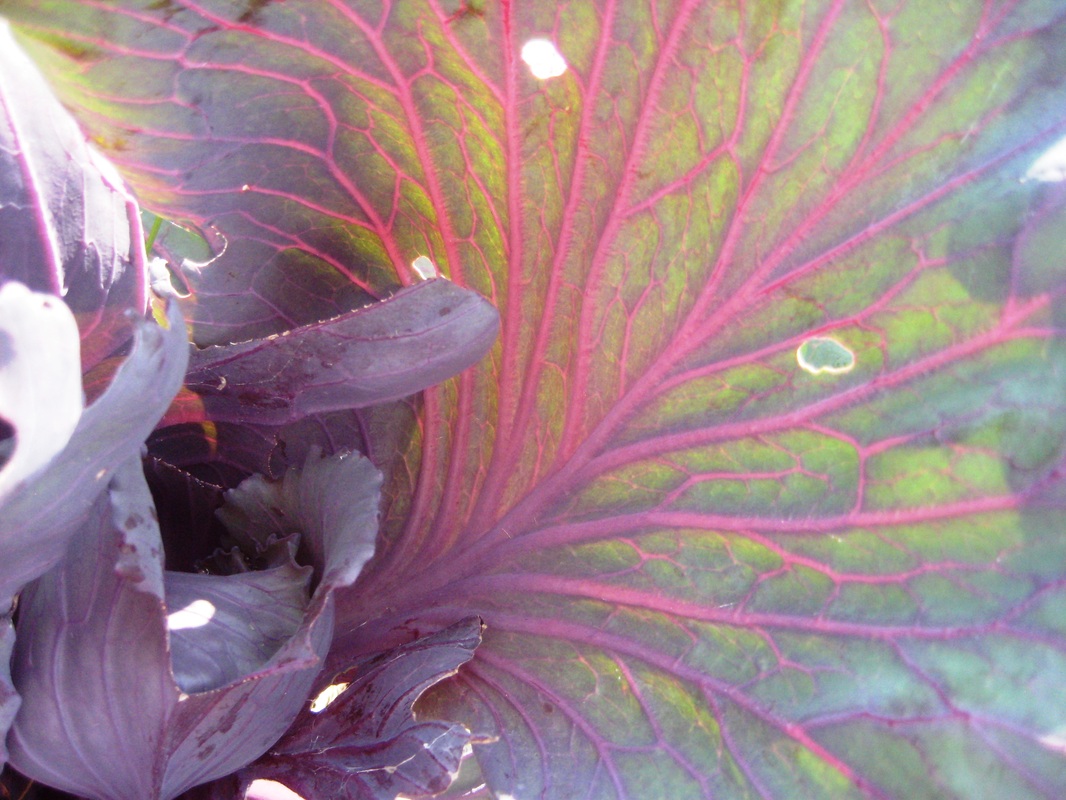
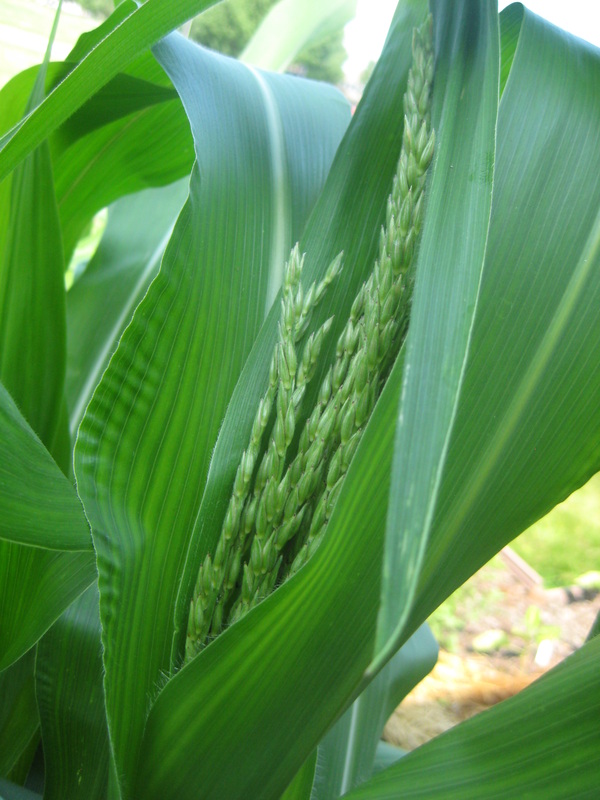
This ear of Oaxacan Green Dent (pictured below) is a little more mature than the ones we used for the tamales. But isn't it gorgeous?
This ear of Oaxacan Green Dent (pictured below) is a little more mature than the ones we used for the tamales. But isn't it gorgeous?
| 
|
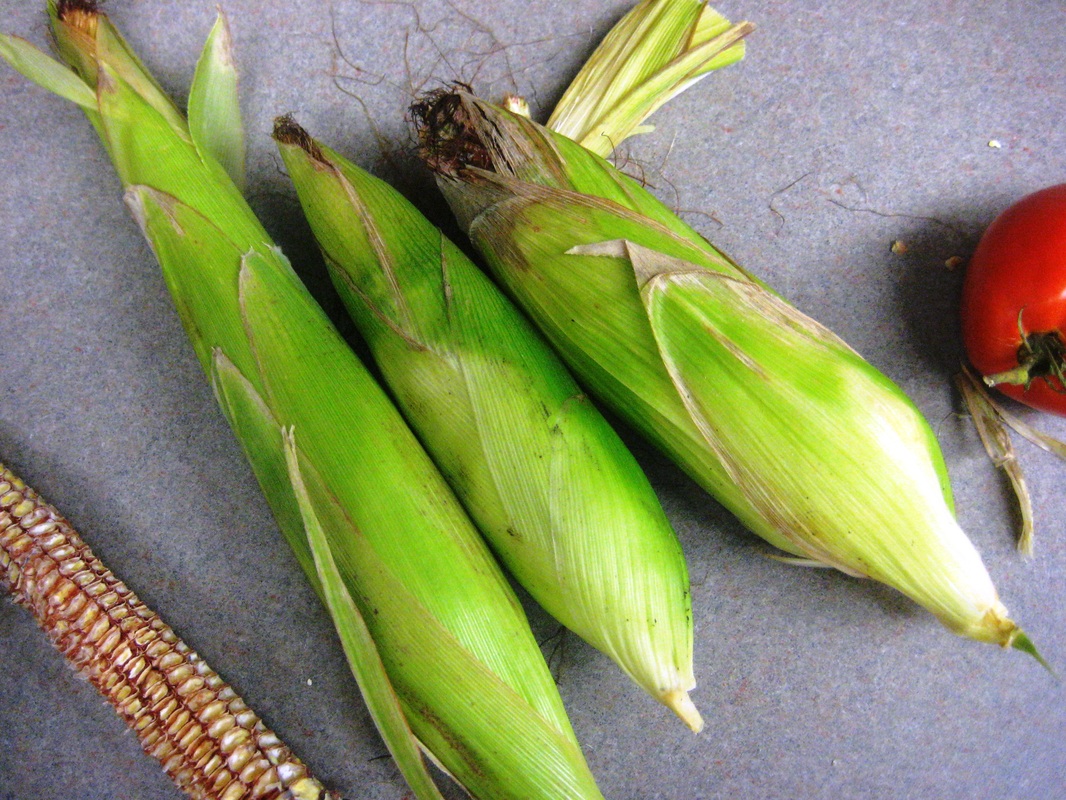
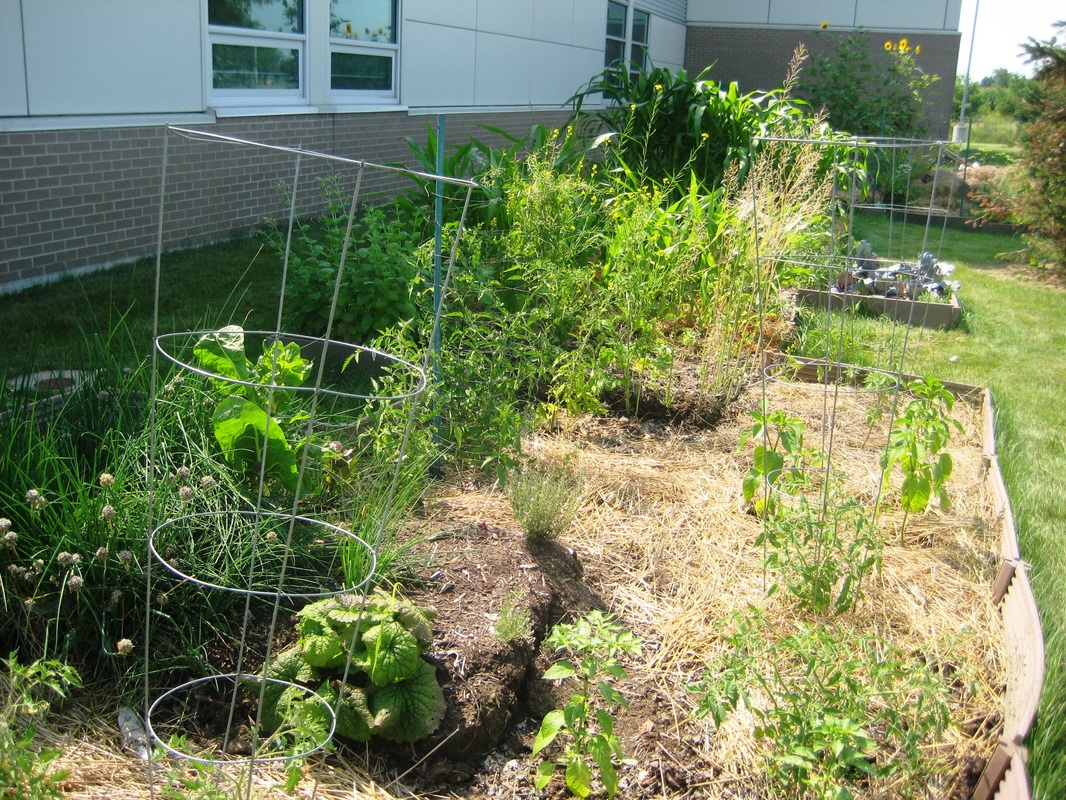
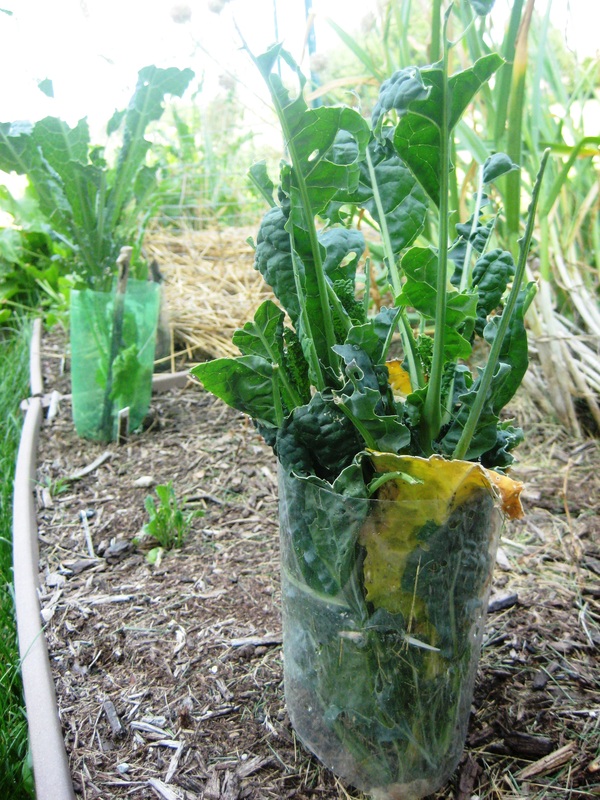
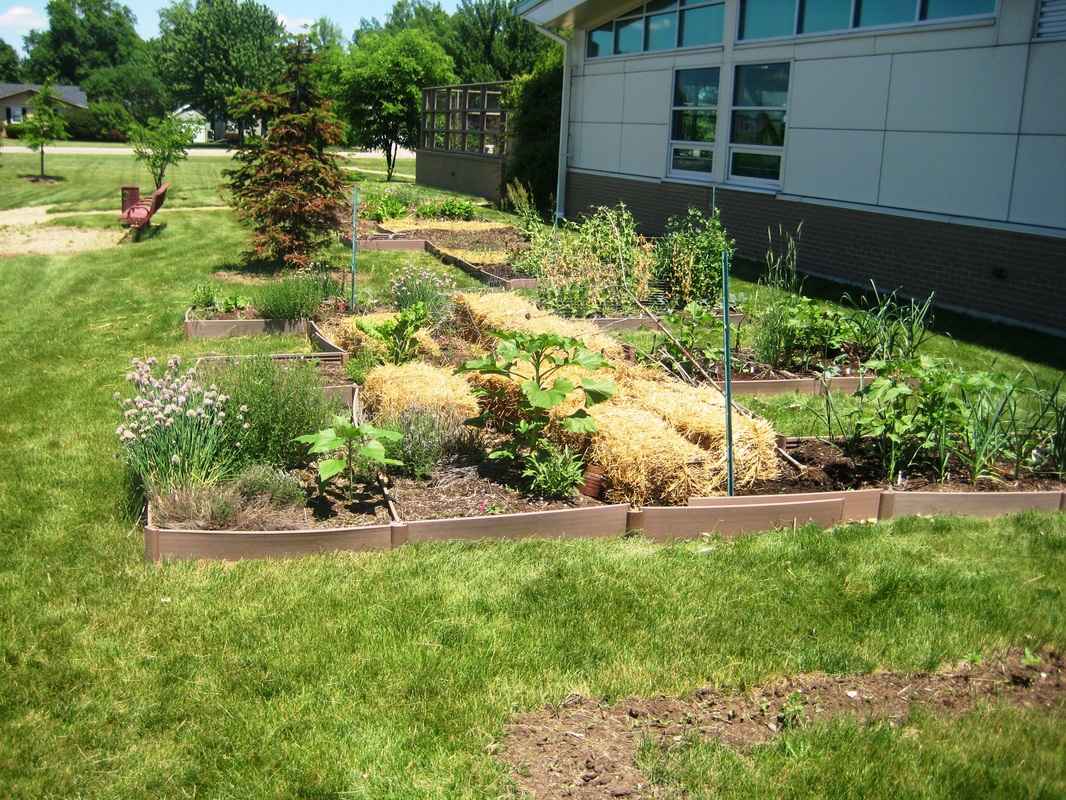
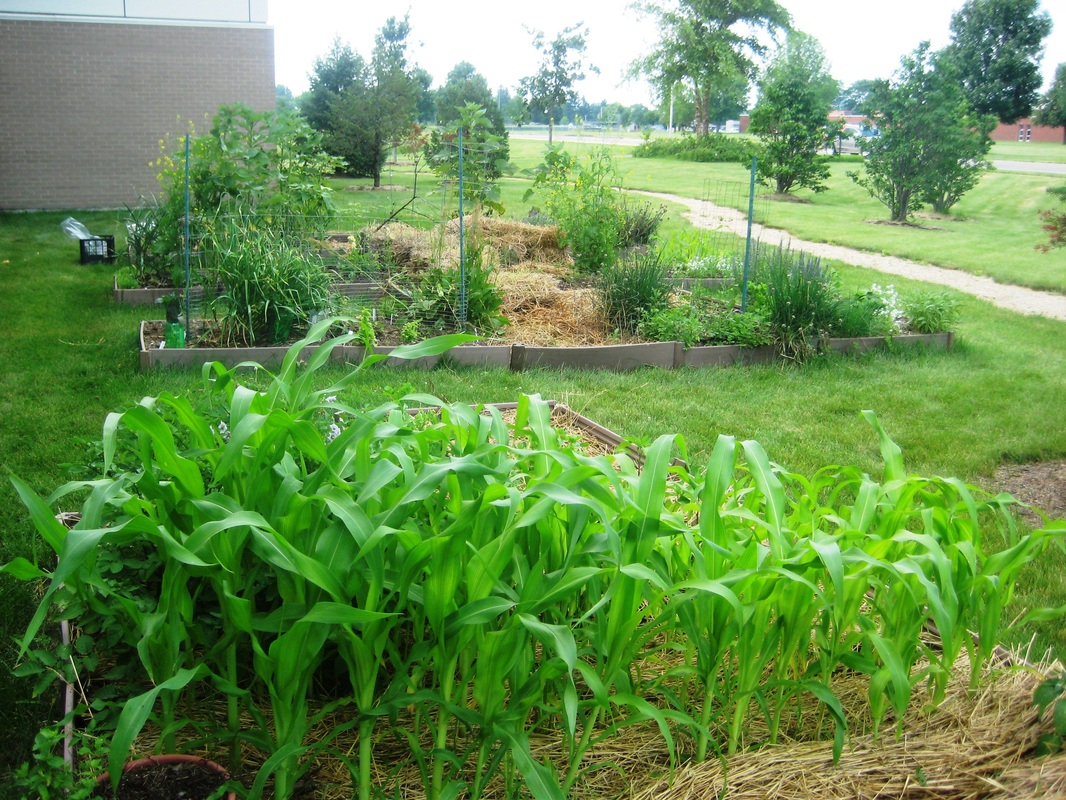
Freshly harvested corn, ready for shucking. We reserved the nicest leaves and soaked them for the tamale wrappers, and the rest of the leaves went into the bottom of the pot on top of a layer of cobs, to act as a steaming basket.
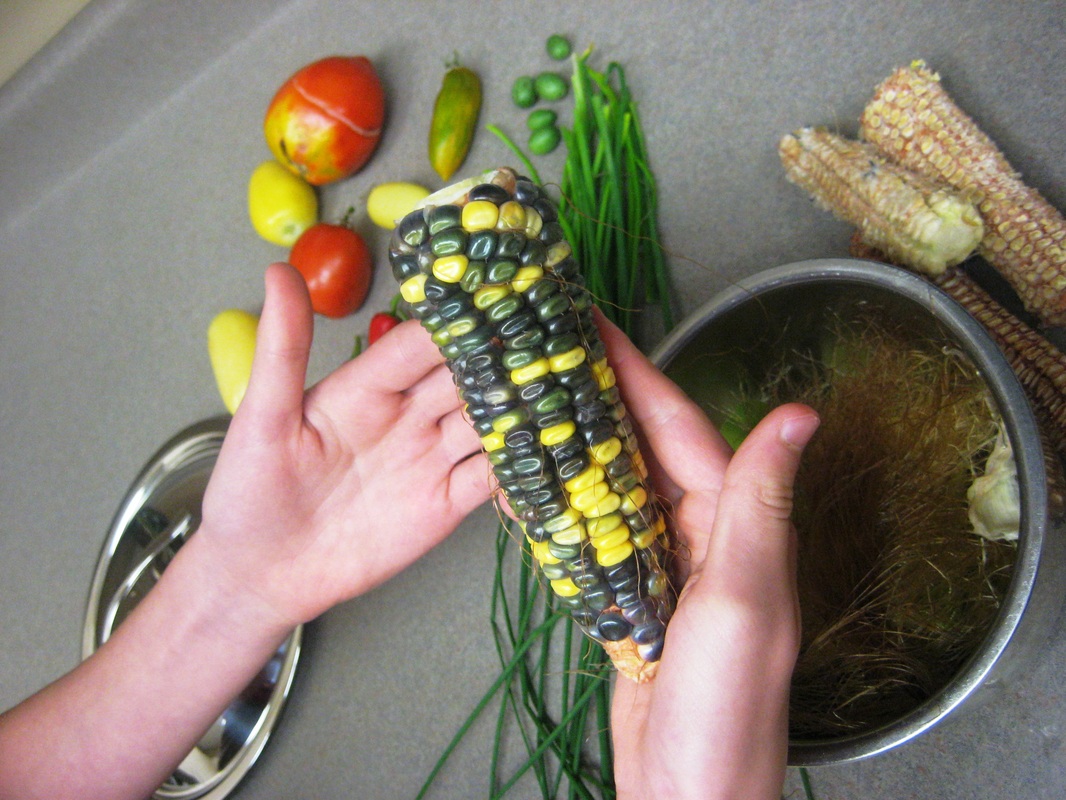
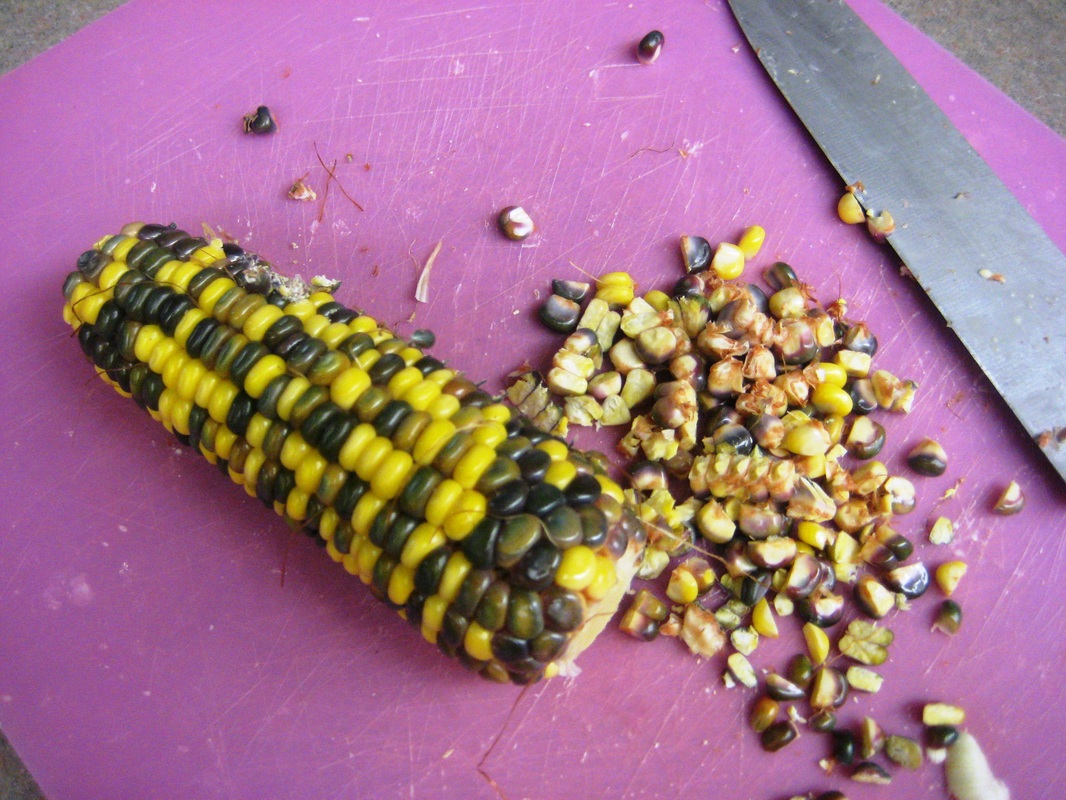
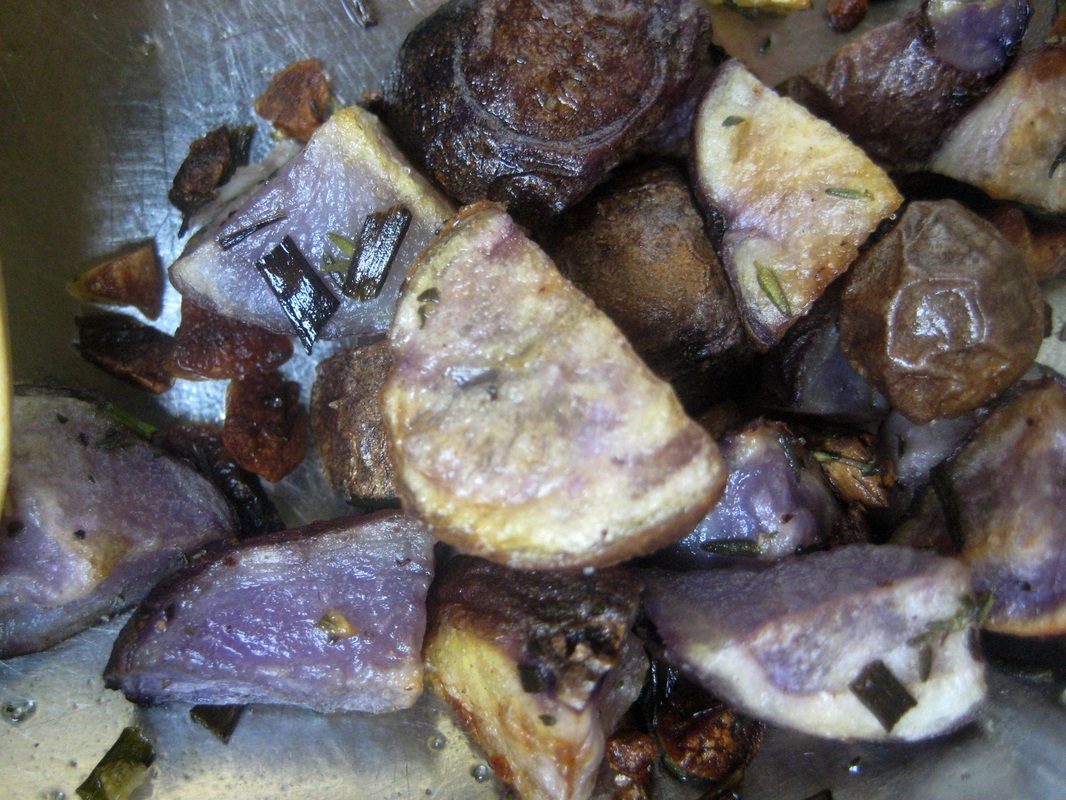
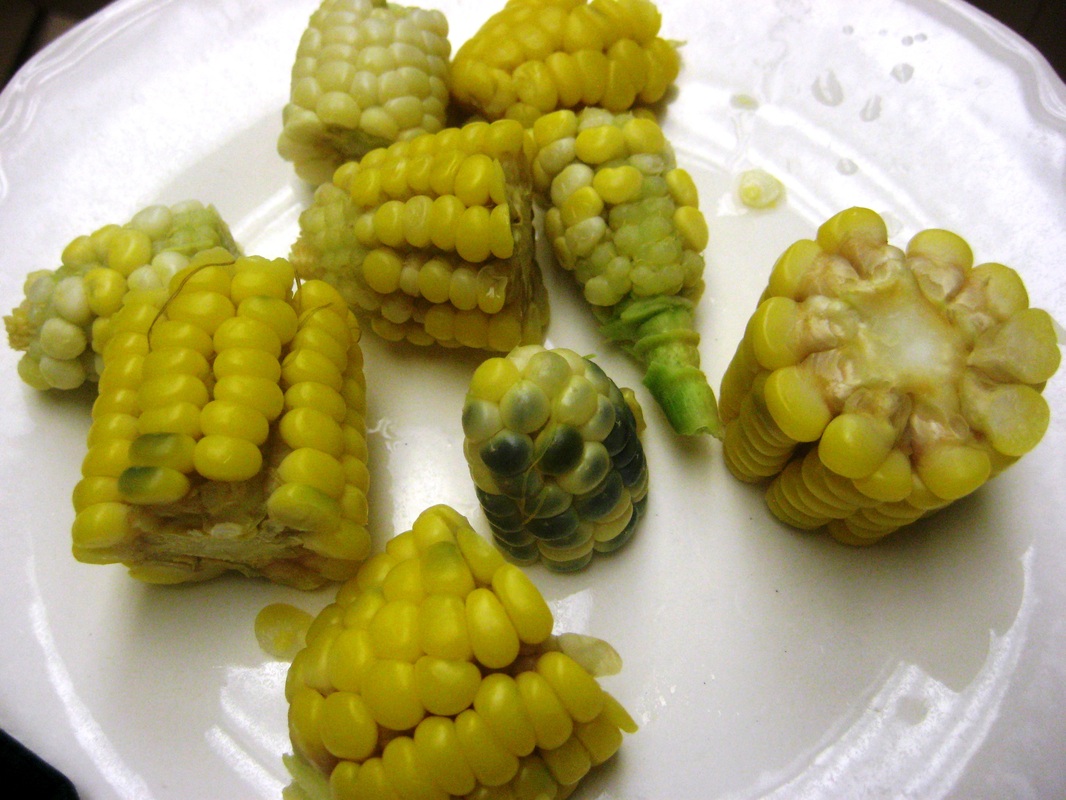
First, I cut the corn from the cobs and scraped them well to remove as much of the kernel as possible. It was at this point I realized our corn matured to a drier state than would have been ideal for the tamale project. However, we went ahead with the experiment. We ground the corn in a blender, though a food processor would have worked better, as dry as the corn was. We blended in the butter, and then mixed in the masa harina with a hand mixer until the mixture was fluffy. We put a generous spoonful in each corn husk, and folded them up (adding a strip of hot pepper to some of them), and the little packets were ready for the steamer.
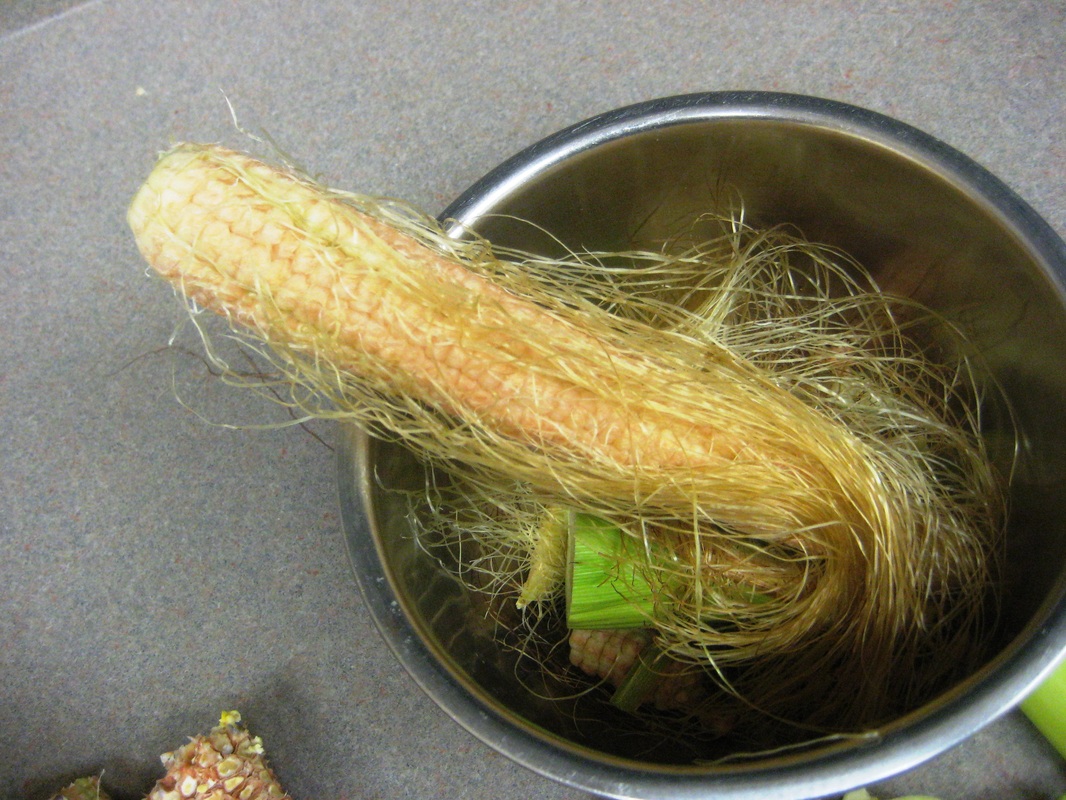
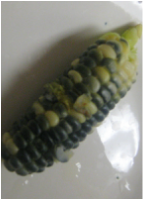
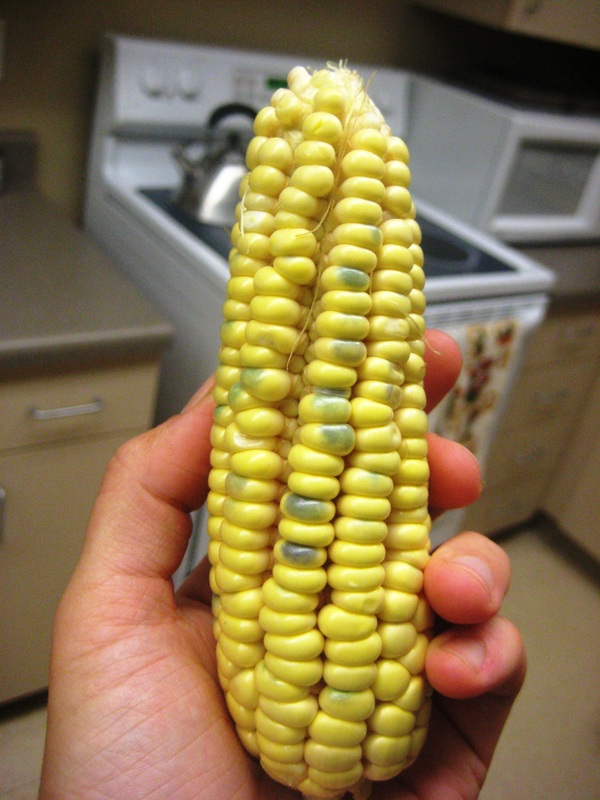
Rapunzel, Rapunzel, let down your... silk? This interesting ear apparently didn't get pollinated.
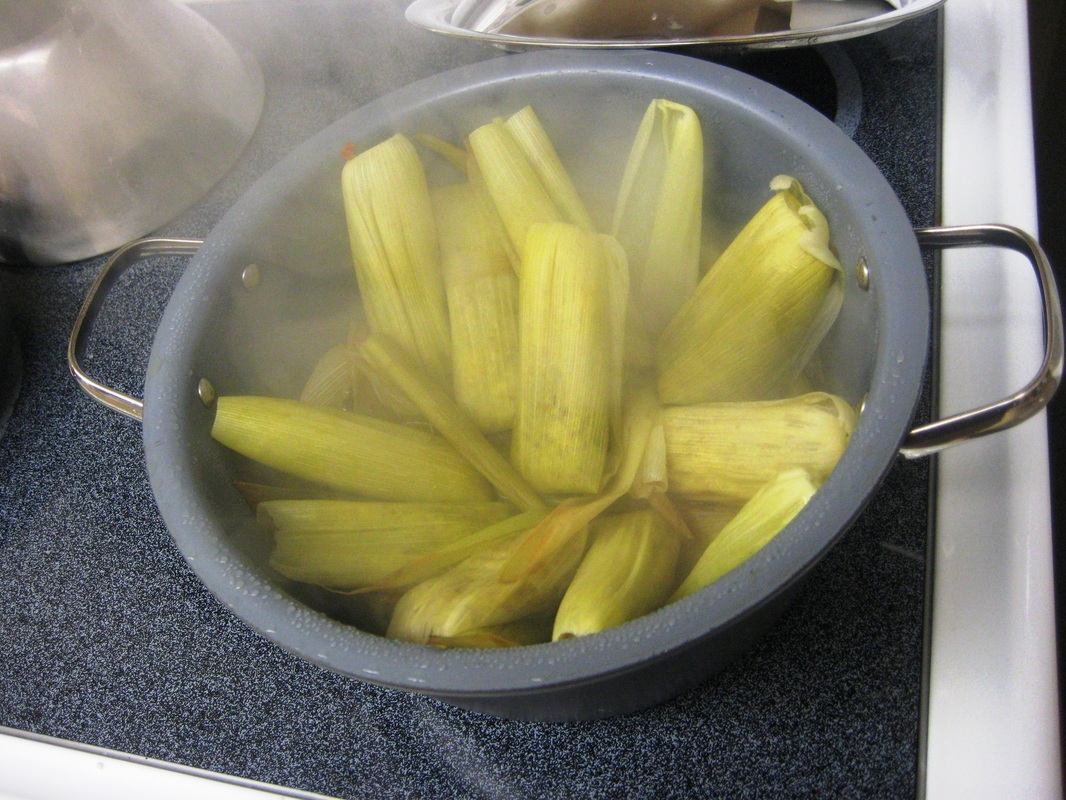
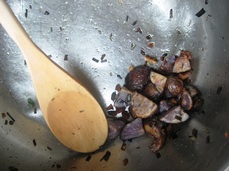
Steaming tamales. (Important: add water to just below the tamales, but add more during the process as needed and don't let it boil dry [it can happen faster than you think]. If it boils dry and the corn cobs scorch, you will never be get your pot clean again, especially if it's made out of stuff you can't use a scrubby on. Not that I know from experience or anything...)
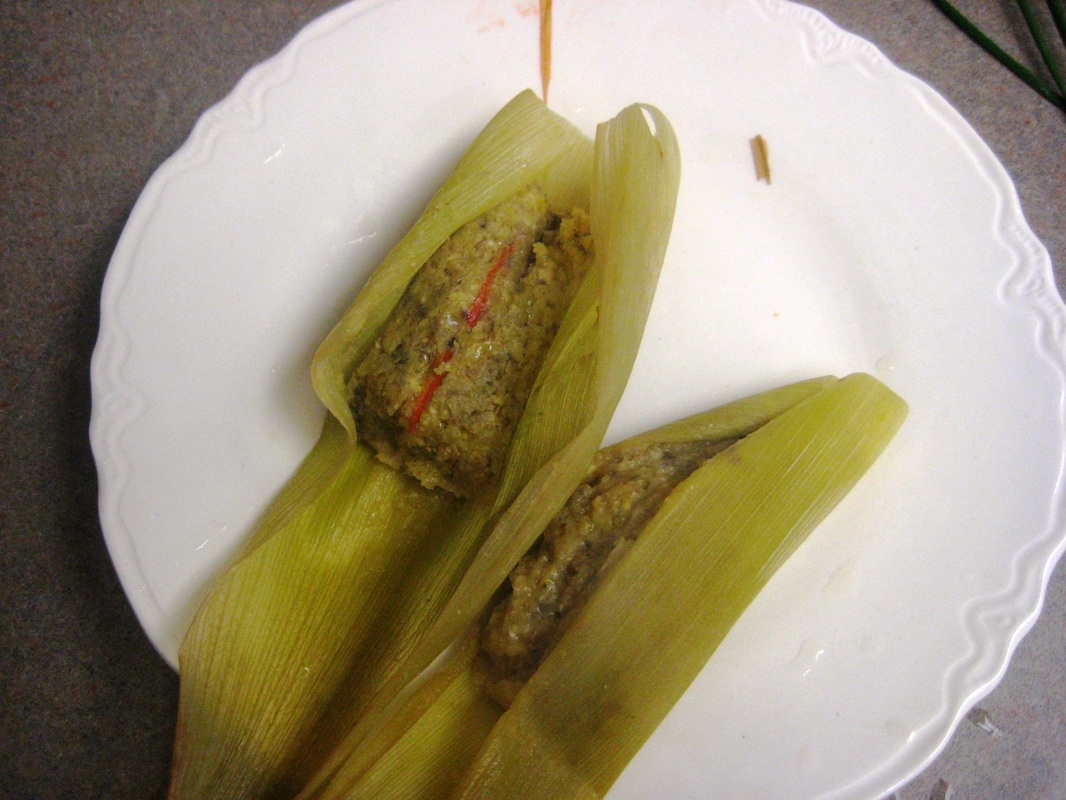
Yum! Fresh, hot, and hearty tamales. The red line is a strip of hot pepper.

The gorgeous fresh salsa made from scratch by the Green Chillis, with ingredients straight from the garden.
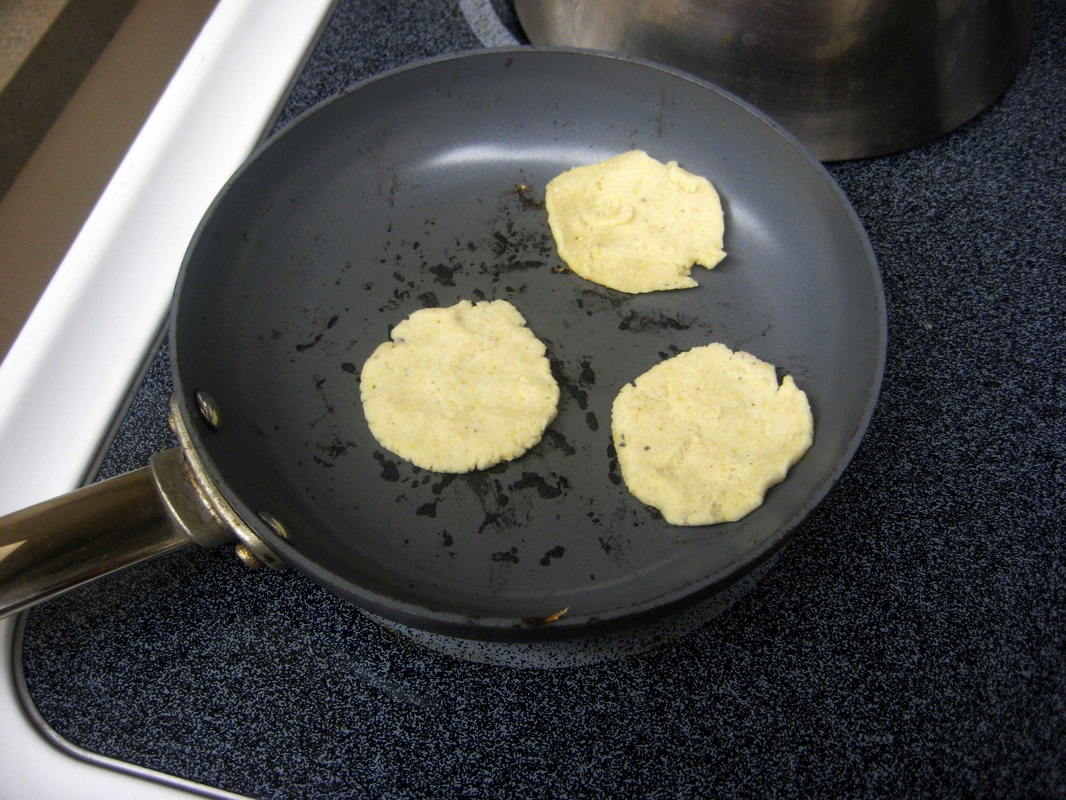
We had extra masa harina flour, so while the tamales steamed, we made tortillas just for the fun of it.
| 
|
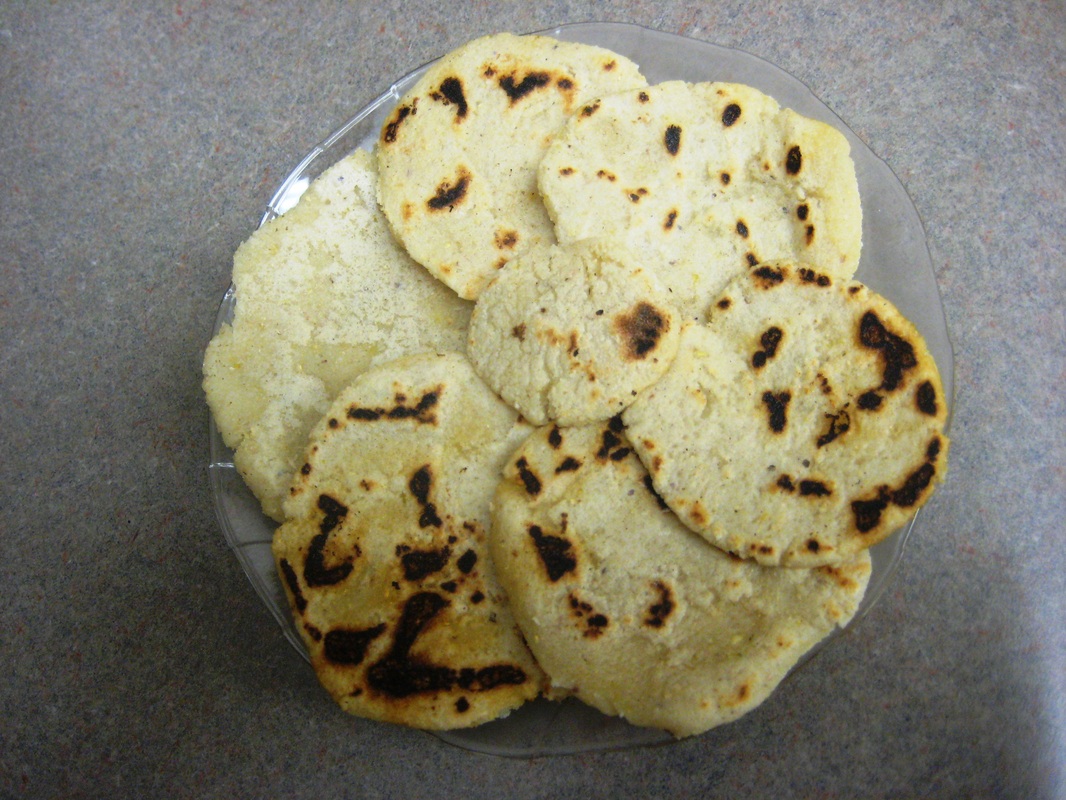
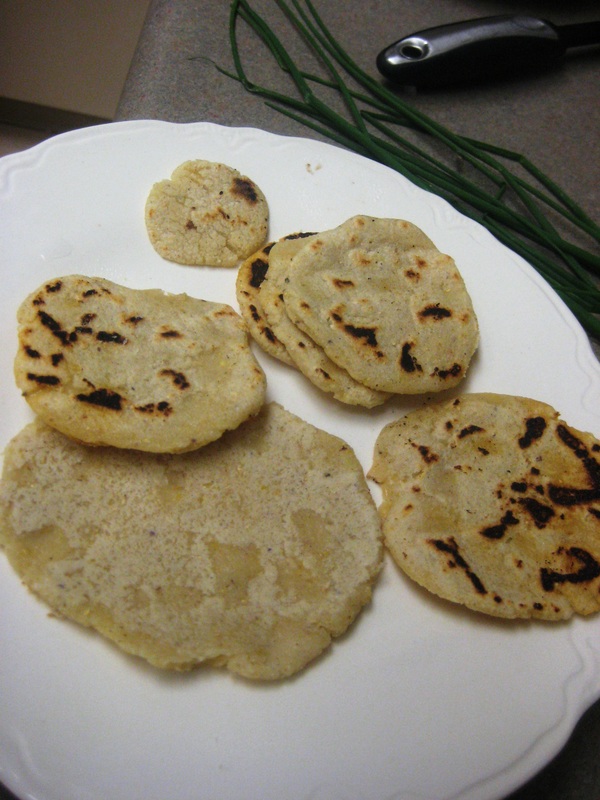
Tortillas fresh from the skillet, artfully arranged by the Chillis.
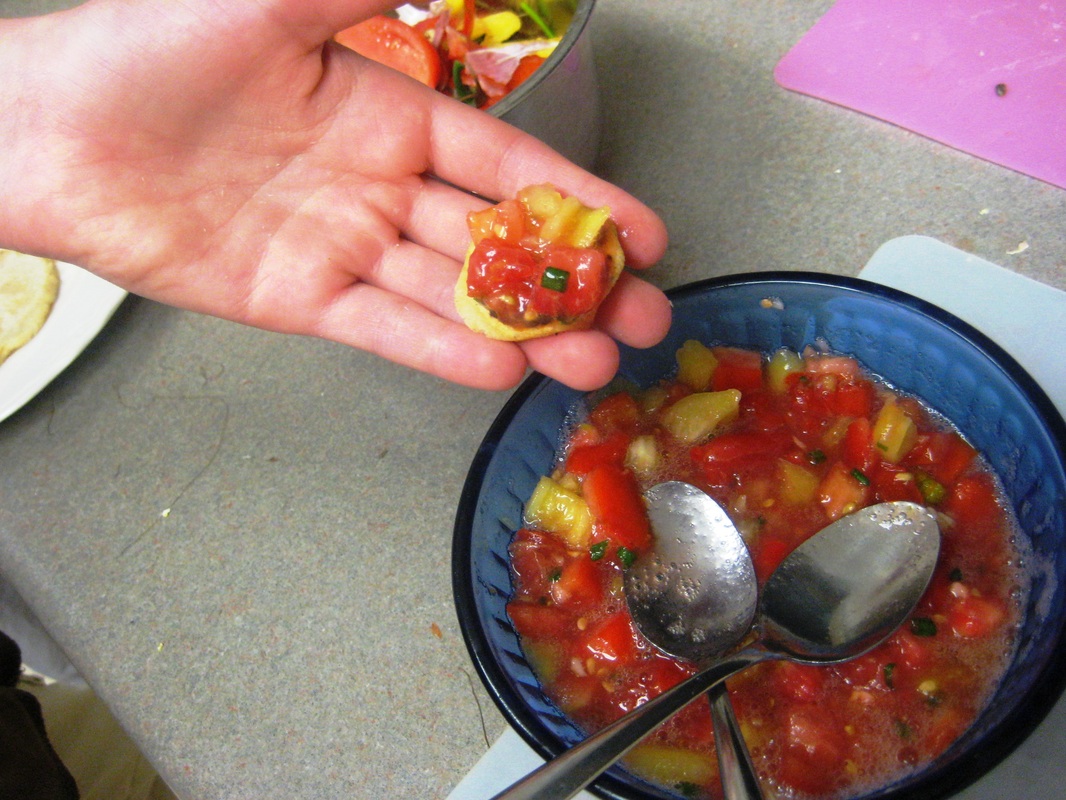
Salsa on a mini tortilla. What could be nicer?


 RSS Feed